
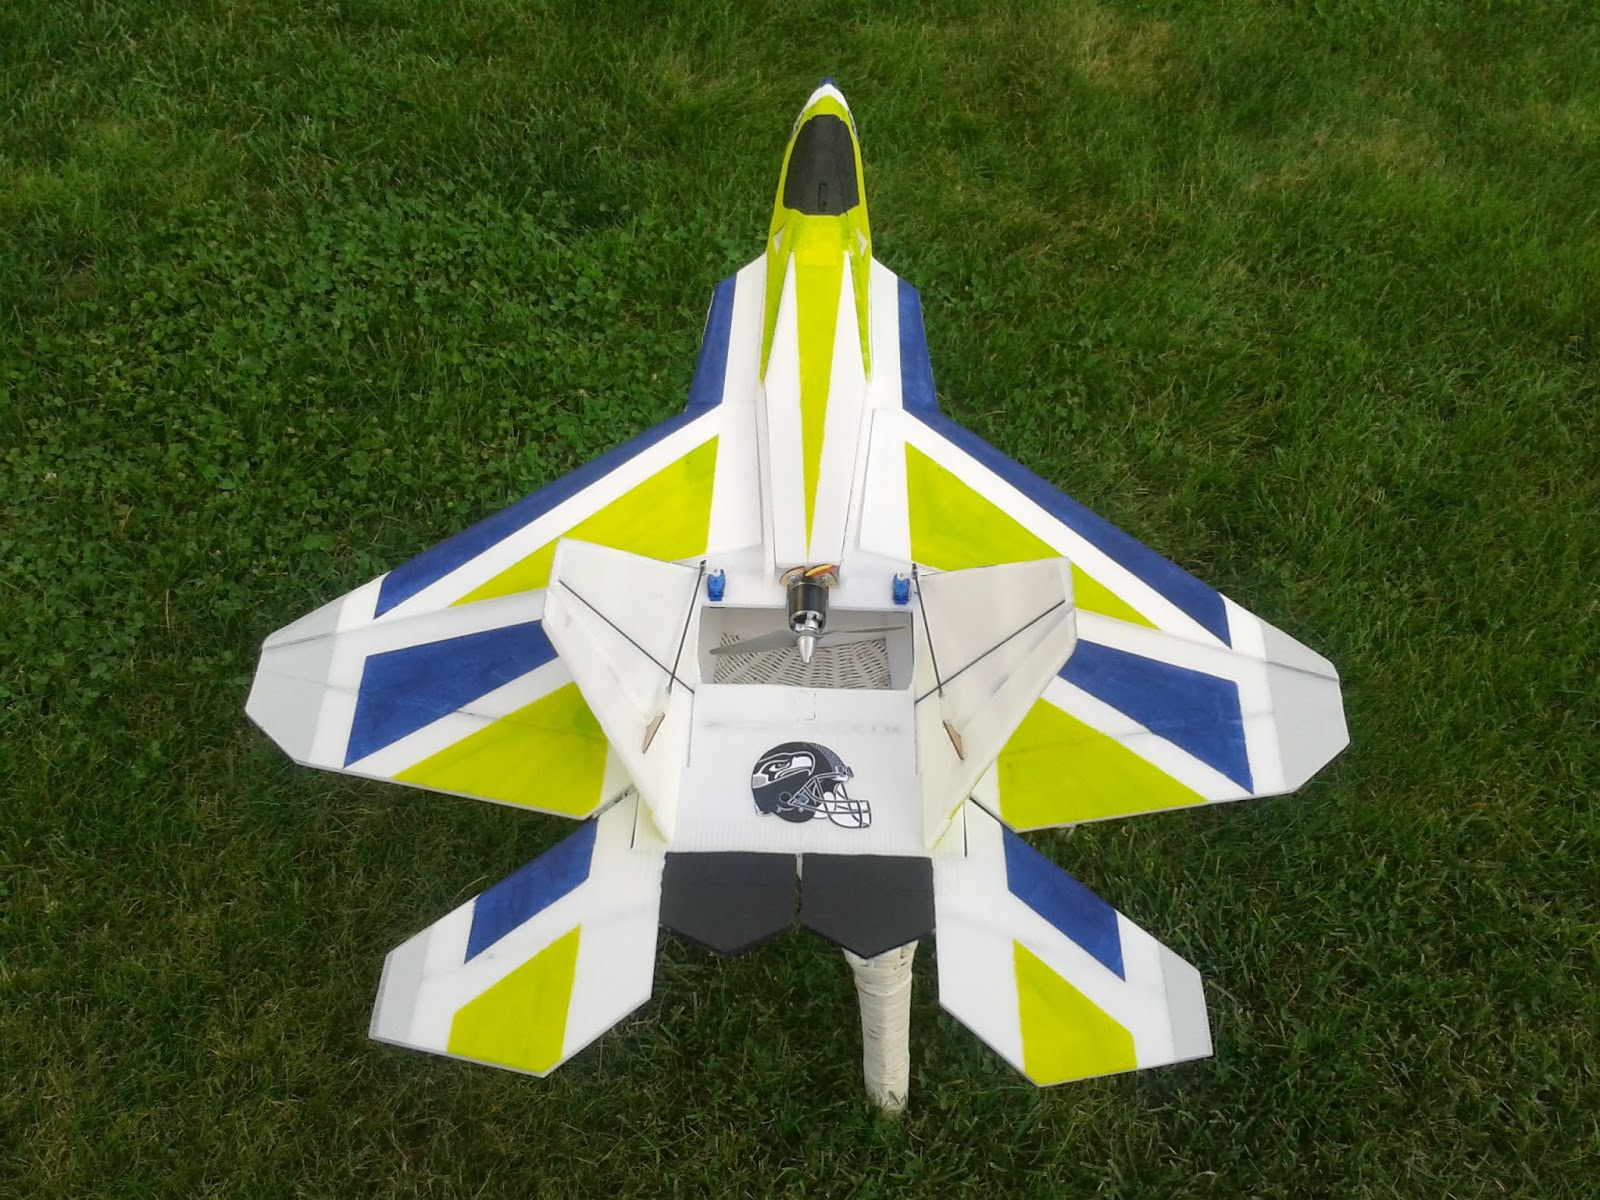
Just finished up my 3rd F22 V3 build today. Since the NFL season has started I decided to go with a Seattle Seahawks inspired paint job since they are my favorite team and the Seahawk (Osprey) is a raptor, so that works out...:) .
.jpg)
I used many of the techniques I used in my lightweight F18 build and ended up with a weight 58 gr/2 oz lighter than my previous two builds, so my total weight with 2200 battery is 692 gr/24.4 oz. This reduces my wing loading quite significantly, my wing loading now will be 6.77 oz/sq ft versus 7.35 oz/sq ft on my previous builds. So I should be a little quicker top speed and hopefully even a little bit more nimble in the handling and aerobatics.
My build -
- 6 mm depron using Foam Tac glue with a little bit of hot glue or epoxy here and there;
- Kf4 airfoils made with 4 mm dollar store foam top and bottom;
- all control surfaces active as elevons, ailerons (mixed as spoilerons switch selectable) and rudders. To save weight, I went with a 6 ch receiver and used a Y harness for my rudder servos, saved me about 14 grams just in Rx weight alone;
- servos are 9 gr (which actually weight 14 gr) metal gear servos on the elevons, 9 gr (which actually weigh 10 gr) nylon gear servos for the ailerons and 5 gr nylon gear servos for the rudders;
- control rods are scratchbuilt 2mm carbon fibre rod with HK nylon clevis and quick connects on the opposite end from the clevis;
- motor is NTM Prop Drive 2700 Kv, 6x4 APC prop, Turnigy Plush 60A ESC and battery Nanotech 2200 Mah 3S, 45-90 C discharge, motor wattmeter numbers 58A/633W;
- all leading edges bevelled and sanded, no filler this time;
- paint is acrylic craft paint from the dollar store (paint added 14 gr/0.5 oz just for interest sake); and
- control surface hinges all made with Foam Tac, elevon control surfaces also reinforced with transparent duct tape.
I also reduced the weight by cutting out some more foam in the internal structure which also allows for better airflow through the electronics bay.
I built light, but kept it strong where it needs it to handle the abuse I plan on giving it and the abuse it will get from the NTM Prop Drive motor...:)
Hoping the third one will be the lucky one and I won't crash it or have components fail on me...fingers crossed.
Cheers,
Scott
No comments:
Post a Comment